Sunday, May 19, 2013

Kyler's 2nd Birthday

Well I cannot believe it has been 2 years since our little man entered this world and forever changed our lives!!  We had an awesome celebration with friends and family today. Originally we were going to have a BBQ and hoped to be outside however the weather had other plans and we had a huge thunderstorm and random power outages.  We did the party inside, I think the final count of people was 18 crammed in our little house.  Surprisingly it didn't feel to crowded it was cozy but I think everyone had a good time. 

We did a Cars themed party, Lightning McQueen is kind of a hero in our house right now so he was pretty excited about the décor.  Here's some pics of the party décor.

 
And of course I'm a little crazy and had to have fun and label all the food to go along with the theme (Thank you Pinterest)


And we can't forget the awesome cake Grandma Cathy made!


Kyler had a blast with all his friends and was putting on quite a show and played hard.  What an awesome little guy he gains new friends and family everywhere he goes :)  Was happy to have his two adopted uncles (Brandon and Tress) share in the day with us, but definitely missed Uncle Matt and Uncle Justin!!

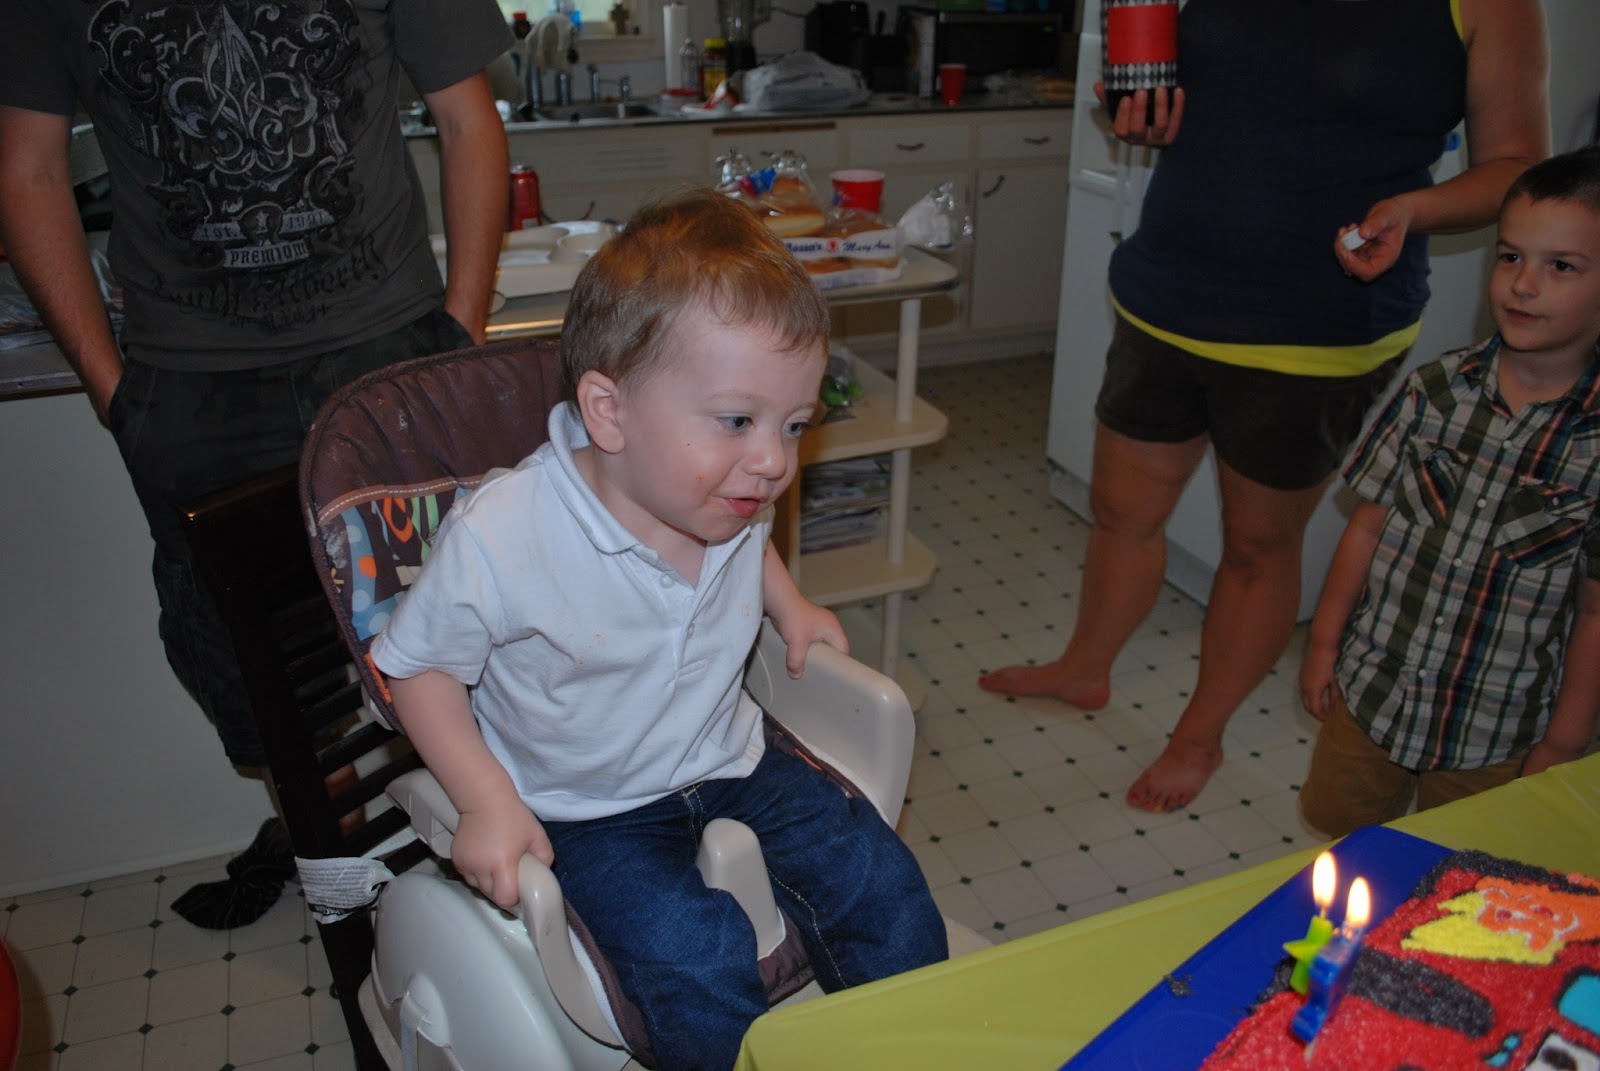
Kyler didn't know what to think about the cake and candles and everyone singing to him, but by the end of singing he was singing with everyone it was pretty cute.  His expressions were precious as he was looking around noticing that everyone was singing to him.  He blew out his candles like a champ.


Presents were much more fun this year as he understood what they were, a few times before we opened them he would go over and check them out hoping he could see what was in them.  He was quite excited about the cars and four wheelers he got and wanted "Help" opening them right away.


These four wheelers are pretty cool, but there is something else in there that might be cool too...

This monster is squishy and lights up when you hit it.

The lizard was soft like the blue monster so he figured it should probably light up and kept trying to squish it between his hands to get it to light up, it was pretty funny.


Grandma and Grandpa buy cool cards, what 2 year old looks at cards? This one does if it's Yo Gabba Gabba :)

The squishy monster is lots of fun!


Quick break for some cake but we need all our new cars and four wheelers, such a boy.
 
 
Taking a little break after everyone left, he was so exhausted!
 
 
After bath time Daddy helped us put his new bubble mower together from Grandma and Grandpa.


It was quite a hit he ran back and forth and back and forth with it (no bubbles yet, we'll add those later :) )


After a while he realized it was making cool sounds and he became interested in where it was coming from and how it was working so he would run with it and get it going and then get down and watch and study it.
 
Overall I would say we had an excellent day, we missed our friends and family in Montana, but are so blessed to have the new friends and the family we have down here. Love you all and thank you to everyone who made his day so special!
 
And now Baby Sister can arrive any time now!! Mommy and Daddy are ready :)


Sunday, March 17, 2013

General Crochet Flower Pattern

Alright so here is the pattern for the flower I use for pretty much any of my patterns.  I've tried several flower patterns and am never fully satisfied with them and I always end up coming back to this one.  It is made in two different parts to give a fuller look, or to provide the option of two colors.

Flower Base:

Ch 5, sl st to 1st ch
16 hdc in circle, sl st to first hdc
Ch 3, sk st, sl st next st, repeat 7 times (This creates 8 loops)
*Sl st in first loop, hdc, 4 dc, hdc (all in same loop) repeat from * in each loop around
Sl st to first st and tie off

Your base should look like this:


Flower:
Ch 45, sc in 6th ch from hook, *ch 2, sk next 2 chains, sc nx ch, repeat from * to end. Turn
hdc, 4 dc, hdc in each loop to the end
Tie off (leave about 12 in to sew)

Take the loose strand and weave into loops of flower going in each loop from the same direction.  Tighten the string to bunch the flower.  Sew onto the flower base or onto your item.

Your flower should look like this:


When you add the flower to your base it will look like this if you use one color:


This is what a flower looks like with a different color base:


You can see more examples of the two color contrast in my "Flower Headband" post.


Granny Style Flower Headband


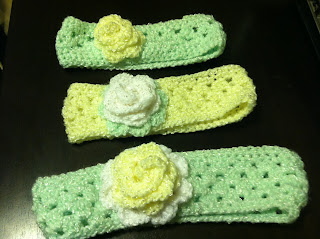
These cute little headbands have become my go to headband pattern, they are cute and I can have one made and put together in an hour. 

You can find the pattern at the following link: Granny Style Flower Headband Pattern

This pattern without adjustments makes a headband that will fit a toddler, like 18+ months, I tried it on my son who is 22 months and it fits nicely.  For smaller sizes decrease your chain according to the suggestions given on the website.  If you are making this for a baby go to this website for a size chart.
This is an extremely helpful website when you are adjusting any pattern to fit a younger or older baby.  The site provides various measurements (feet, head, chest, etc.) to help guide you in  your decreases or increasing endeavors.

You can use the flower pattern given on the website or you can use my flower pattern I have created, which will be featured in a future blog which can be found here: Flower Pattern

Flower Baby Sandals


So I made these and while I think they are cute I am not crazy about the colors I did.  It was just what I had at the time.  I think I would be crazy about these little sandals if they were in some different colors.

The pattern can be found at this link: Flower Baby Sandals Pattern

Baby Girl Slippers/Headband Combo


Ok so I absolutely LOVE how these turned out.  I started with the slippers to match an adorable outfit (pictured above) we got for Kaia.  After I finished the slippers I realized she had to have a matching headpiece.  I absolutely love how well they turned out.

For the pattern for the slippers see the Ballet Slipper Pattern I posted in an earlier blog.

For the headband pattern go to the following link: Ribbon Headband

Here is the pattern for the bow used on the slippers:

Ch 7, turn
hdc 2nd rom hook and continue across
Ch 1, turn, hdc in nx 2 sts, ch 2, skip 2 sts, hdc nx 2 sts
Ch 1, sc around (3 in each corner)
Tie off (leave a long tail)

When you tie off use the long tail to wrap around the center of the bow to bunch it up.  Then sew the bow to the slipper.

(You might be wondering why I did the ch 2 and sk 2 sts in the middle of the bow.  The original pattern had that whole row as hdc.  I however find that by omitting these 2 stitches and leaving a small hole allows the bow to be a little more flexible when you bunch the middle together and makes for a nicer looking bow.)

Baby Brimmed Hat


I just LOVE how cute this little hat turned out I was a little skeptical at first but once I added the purple stitching and bow it really came together.  I imagine this would be just as adorable for a boy if you left off the bow, or maybe put a button in place of the bow.

You can find this pattern at the following link: Baby Brimmed Hat

Baby Boy Beanie

Yet another simple pattern for a baby boy, but could just as easily work in girls colors.  I was asked to make these for someone who recently had a baby and needed some hats that were a little smaller than her newborn hats.  For my craft show I will make several of these in boy colors and several of the Bobble Hat in girl patterns.

Baby Boy Beanie Pattern:

Using an I hook

Make a Magic Ring, 12 dc into ring

Row 1: ch 2, 2 dc in each dc around, sl st in first dc

Row 2: ch 2, *1 dc in first dc, 2 dc in next, repeat from * around, sl st in first dc

Row 3-8: ch 2, 1 dc in each dc around, sl st in first dc

Row 9-13: ch 1, *fpdc (front post dc) in first to dcs, bpdc (back post dc) in next 2 dcs, repeat from * around, sl st in first fpdc